Tuesday, May 31, 2011

Pulled Pork

I'm  really not into the wet and goopy BBQ sauces. I am more of a marinate it, and dry rub kind of a gal.
We're a mixed family in that regard, my guys love the sauce! I try to make this so the pork has the taste of the BBQ sauce without being loaded on. If they want more sauce, it's always on the table and they can spoon it all over their own dishes.
Awhile ago I stumbled on a marinade Mojo Criollo made by Goya, I bought it in a pinch and since the initial use of this mojo sauce I have fallen in love. I've used it on chicken, pork chops, and a pork butt to make the pulled pork that I am about to share with you.

Pulled Pork
For this you will need
a pork butt  6 - 8 pounds
soy sauce
sesame seeds
scallions/ green onions
Mojo Criollo
Luzianne Cajun Seasoning

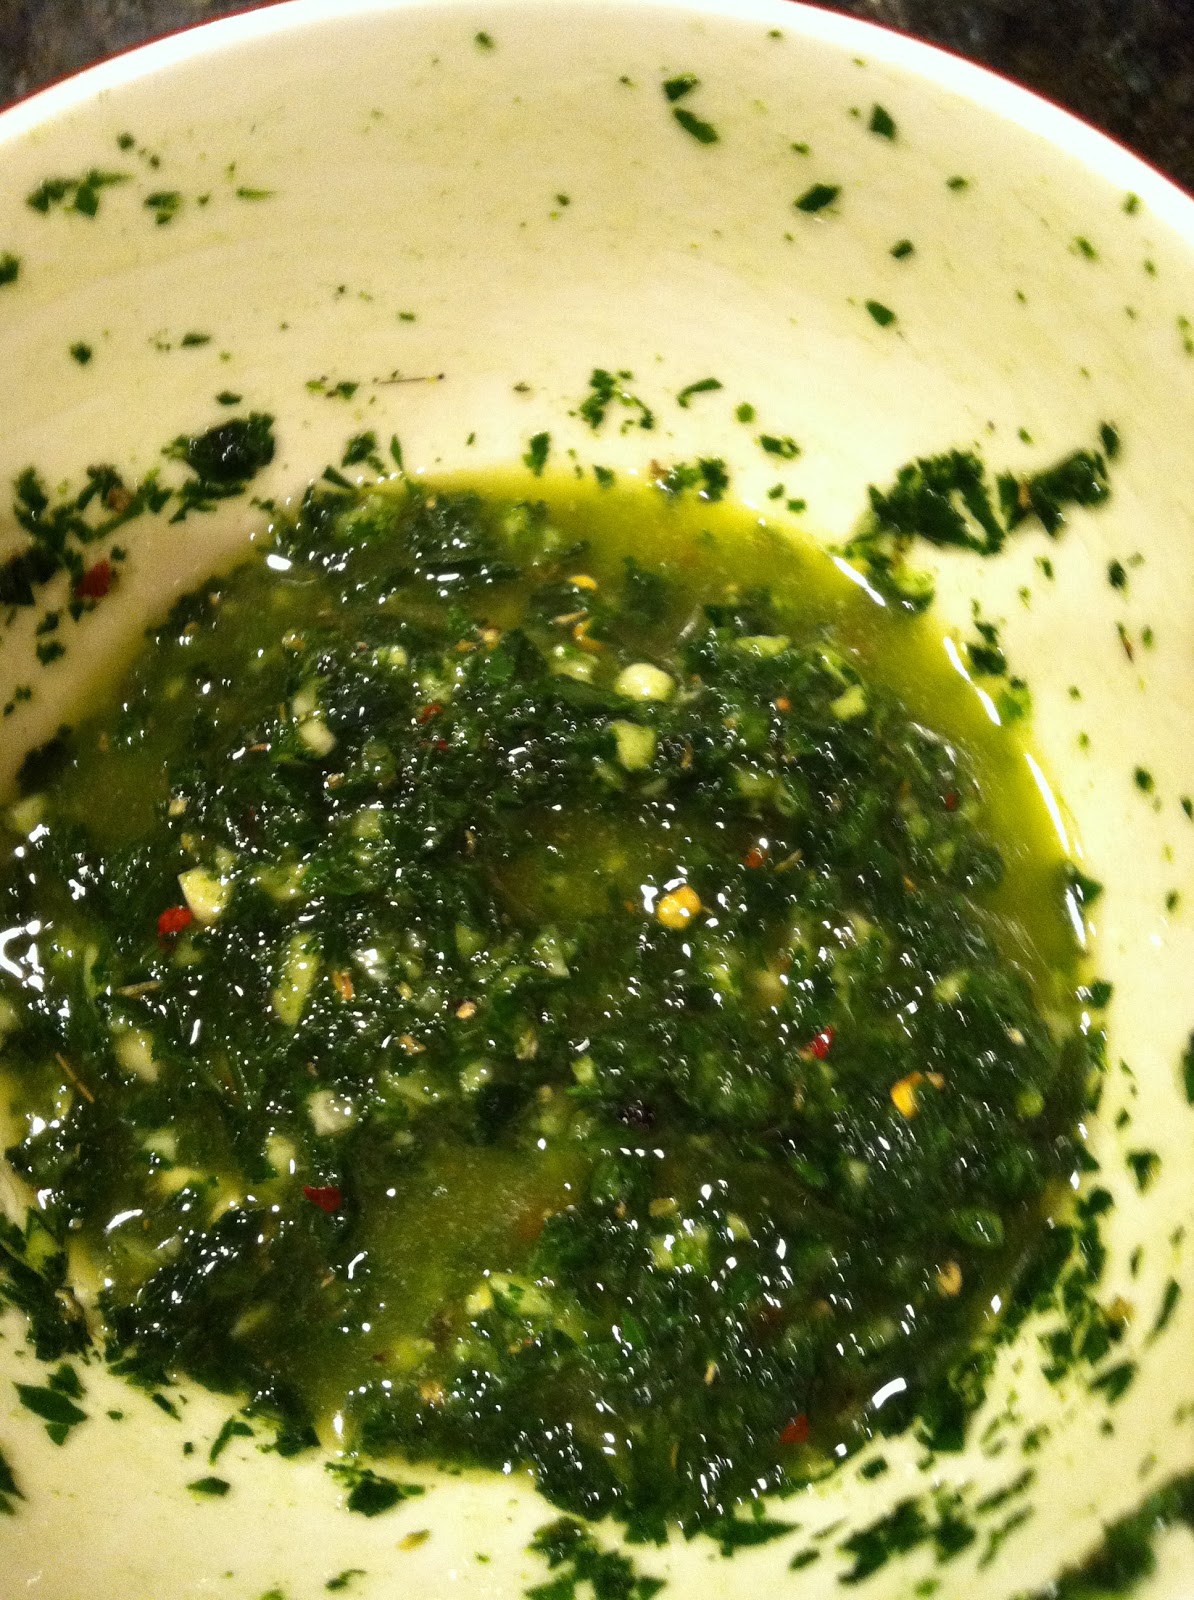
Marinated the boneless pork butt with one 24 oz bottle of Mojo Criollo and let it sit for at least 24 hours. After letting the pork marinade I like to use some kind of a rub.  While in California I found Luzianne Cajun Seasoning . It's great. I really love the flavors. Generously rub the seasoning all over the pork. I then made a mixture of soy sauce, chopped scallions and sesame seeds and poured that all over the pork.
Now it's time to cook it. You'll need some time, this cooks at a low temperature for a long time. I just start the oven off with a high heat and then turn it down!
Put the pork in a 450 degree oven  for 15 minutes and then turn down the heat to 300 degrees and let the pork cook slowly for 5 - 8 hours.  And that's all it takes.
When it comes out of the oven it should have this fabulous crust on the outside and the meat will be juicy and tender on the inside. Let the meat cool down, this is usually where I burn the tips of my fingers being impatient not waiting for a cooling period because I can't wait to rip it apart and start pulling on the pork to taste it!
I think was was an 8 pound piece of pork.   The picture below is what it looks like "pulled"
We like to make these into a burrito, pancake kind of a meal. Almost like a Peking Duck but with pork!
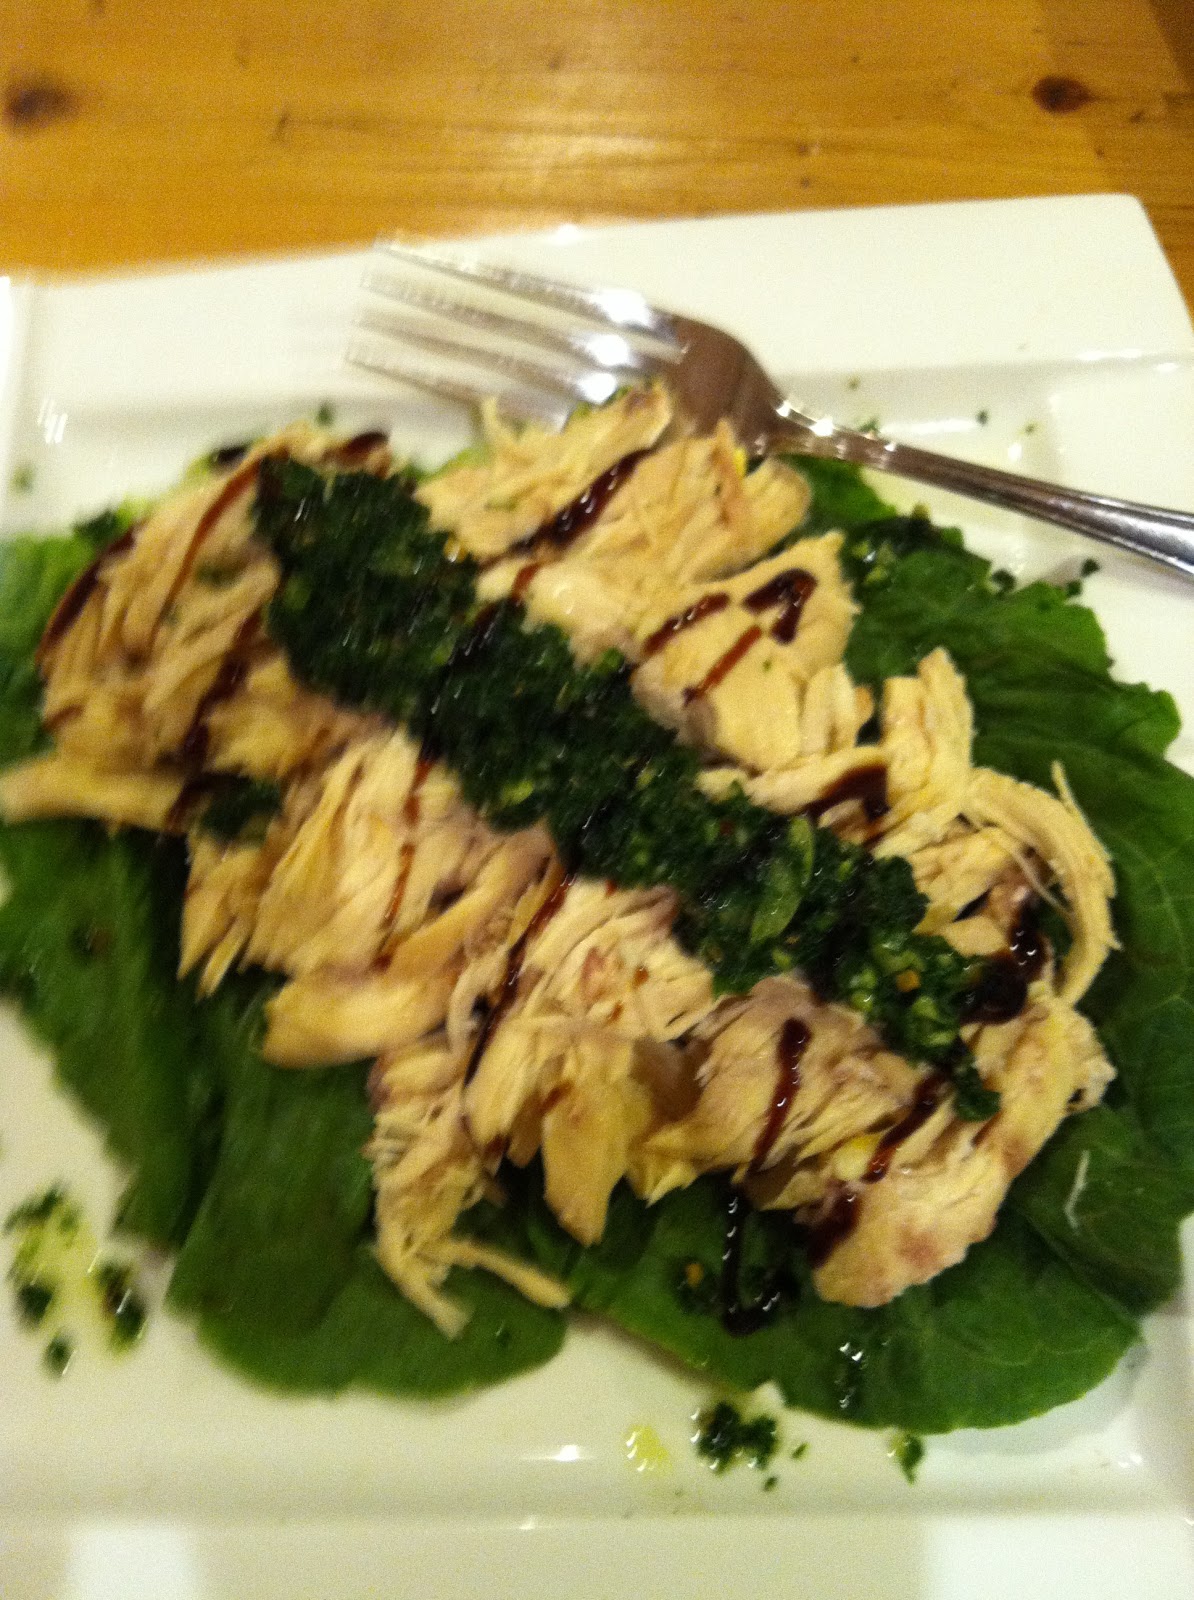
This is served on a flour tortilla with some sliced green onions, cucumbers, lettuce and avocado.
Lay the flour tortilla in your dish and start layering what you want in your "pancake"
Start with some meat and some gravy, then add the vegetables that you desire.
Then roll it up.
I served this with a piece of Pork Belly and some extra avocado and veggies on the dish with just a touch of some very hot chili sauce. Delicious! Definitely worth the prep and baking time.
I hope you enjoy!

Buon Appetito
xoxoxo
Lorraine

Monday, May 30, 2011

Watermelon Mojito's

If you belong to Costco and receive the magazine that they send to your house, The Costco Connection, take it out of the garbage and read it.  They have some really nice recipes that you should definitely pay attention too. There are a few that caught my eye, but the one that really got me going was the one by Ina Garten, also known as The Barefoot Contessa.
While shopping for the weekend the watermelons were plentiful, and at each store that I went too one looked better than the other! I ended up with 3 whole watermelons, which in my opinion was just a little too much watermelon for the 12 people who were dining with us today!  And then, I remembered the recipe I had seen for the Watermelon Mojo's.  So I retrieved the magazine from the recycling bin, took out the food processor and started pureeing watermelon.
My sister and I had a tough time finding the mint, everyone was out of it, so we ended up buying mint plants, picked the leaves that we needed for the beverages we were about to make, and put the mint in the garden. In a week or two, I won't have to worry about finding the mint anymore, I'll harvest it from my garden!

Here's Ina's recipe. It was a hit!

30 large fresh mint leaves, coursely torn by hand
3 or 4 thick slices of seedless watermelon
12 ozs light rum
1/2 cup simple syrup
6 tablespoons freshly squeezed lime juice, about 3 limes
mint sprigs and watermelon spears for garnish

Use a mortal and pestile to mash the mint leaves. Remove and discard the rind and the seeds of the watermelon. Put the watermelon into a food processor and puree. (This made a huge mess, so I switched to a blender)
Put the mashed mint into a large pitcher with 2 cups of pureed watermelon, the rum, simple syrup and lime juice. and stir to combine.
Place ice cubes in 6 glasses and pour the mojito mixture into the glasses. Garnish with fresh mint sprigs and watermelon spears . Serve ice cold. Makes 6 drinks.

Simple Syrup
To make simple syrup, put 1 cup sugar and 1 cup water in a small pan and simmer until the sugar dissolves. Chill.

Now, here's what I did!
I cut the watermelon up and put it in the food processor. Yes, the whole watermelon! OMG! what a mess so I transfered it all to my blender and in batches pureed the watermelon.
I added the watermelon to a large glass pitcher, added the mint, which i tore up by hand and smashed up with a spoon and a whisk, I don't have a mortar and pestal!, added the  simple syrup and generously added some 151 rum (so much for using a light rum!)  I used a bottle and it was good!


I filled up some glasses with ice cubes, poured this libation over the ice and garnished the drink with some fresh mint, a watermelon spear and a strawberry.

Better make a double or triple batch of these. They were refreshing and a huge hit!

I hope you are all having a wonderful Memorial Day, and a fabulous weekend. God Bless!

Buon Appetito
xoxoxo
Lorraine

Sunday, May 29, 2011

Farfalle Pomodoro

If you haven't already planted a garden this year  WHAT ARE YOU WAITING FOR?  Just do it! You don't have to plant that much, just the essentials. If you don't have a huge space just plant one or two tomato plants.  My two other essentials in the garden are basil and parsley. You will be so happy that you did.
 My father-in-law calls this "Summer Pasta", because it's really at it's best when the tomatoes come right off the vine. There is nothing like it!  I made this using Campari tomatoes, I usually find them at Sam's Club or Costco. In my humble opinion, these are the only tomatoes that have any taste during the off season.
This dish can be served hot or cold.  We prefer it served right out of the pot, tossing the hot pasta with the chopped tomatoes, and letting the pasta "cook" the sauce. It's wonderful, and simple.
You'll need
Extra Virgin Olive Oil, 1/2 cup
fresh garlic, 5 - 6 cloves, chopped
fresh chopped pasrley, 1/2 cup
fresh basil, a few leaves
grated parmesan cheese, 1/2 cup
salt and pepper to taste
10 - 15 Campari or Plum Tomatoes
Farfalle Pasta - 1 pound


Start off by putting your water on the stove.  As the water starts to boil, add salt to the water. Start with a heaping tablespoon and adjust to your taste.  Your water should have enough salt to give it flavor. Taste the water, being careful not to burn yourself! If the water doesn't taste like anything, your pasta won't taste like anything! 


While the water is coming to a boil, wash and clean the tomatoes and with a sharp knife cut them up. Cut them in 8th's or if you're really ambitious,  into 16 pieces!
In a bowl, add the chopped tomatoes, smashed and chopped garlic, fresh chopped parsley,  torn basil leaves, olive oil, cheese, salt and pepper. If you'd like a little kick, add a pinch of red pepper seeds. You  can also make this ahead of time and refrigerate it for a few hours, this will give the "sauce" some time for the flavors to marry.  There is no vinegar or acid in this so it won't break down the tomatoes. So if you are pressed for time, or feel like the chopping might take longer than the cooking pasta, go ahead and prepare this earlier on.
When the pasta is cooked al dente, drain the pasta, reserving a little bit of the starchy water. I put a bowl under the colander, this will reserve some water just in case you need it.
Toss the tomato mixture with the hot pasta and serve it immediately. If you think that it's too dry, add a little bit of the reserved water.  I always have some extra grated cheese, and  red pepper flakes on the table. All you'll need with this is a nice loaf of Italian bread and a bottle of wine.
I hope you enjoy this one. Try it, I promise that if you like fresh tomatoes and the taste of summer you will love this one!


Buon Appetito
xoxoxo
Lorraine

Friday, May 27, 2011

87 Vines Restaurant and Wine Bar

I'm very lucky! My husband likes to take me out to wonderful restaurants. He's great that way. Doesn't matter what day it is, or where I want to dine, he'll take me anywhere I want to go.  Lately, my favorite place to eat outside of my home is at our friends restaurant, 87 Vines.
Gino,  and his family opened 87 Vines last fall, and since the moment I walked in and had the pleasure to dine there, it has quickly become a favorite destination.  The food is great. Nazareno,  is an honest to goodness, great Italian Chef. He's always thinking of wonderful specials to share with the special people that come to the restaurant. So tonight after dropping off one of the kids at the airport we decided to head back into our neck of the woods and have a meal at 87 Vines.

Soft shell crabs are in the house!

Steve and I split an appetizer. Soft Shell Crabs are so very special. And they are only available for a short amount of time, so whenever I see them on the menu or offered as a special, they are ordered! These succulent babies were served with sauce that had a hint of orange and white wine! Yum!
For our next course we wanted pasta.  Homemade Chitarra pasta made with clams and shrimp in a marechiara sauce. It is simply delicious!
And for us a meal without a wine to complement the food is simply not done.
Dinning without wine...I don't think so. They offer some beautiful bottles of wine and we ordered a nice bottle of Pinot Noir to compliment our meal.
It's time for me to eat while it's hot!
If you're in the neighborhood, check out the gang at 87 Vines. I promise you, after a great meal there, you'll feel special too! Tell them The Food Crawl sent you! and blow a kiss to my son Stephen, he's in the kitchen cooking up some apps!

Buon appetito
xoxoxo
Lorraine


Buffalo Chicken Burgers

Let me tell you right now, this dish is a winner! There's a little story attached to how I got the recipe for this amazing burger.
While in the city taking Asian Techniques classes at the I.C.E. ,  I became friendly with a woman in the class. Her name is Gail.  I have the tendency to talk to people all around me, where ever I am, and I make friends! I have some friends who often scold me for this, like the time we were in Tennessee and the woman I invited to have drinks with us was CRAZY, but that in itself is another story for me to share with you another day! LOL!
Gail and I decided to meet early the last day of class. I had heard about a foodie event that was happening in the city, a one day event to meet Richard Blais, the Top Chef winner, who was doing a pop up restaurant cooking pork dishes for Pork Be Inspired .  We had an absolute blast waiting on line, tasting bacon ice cream, talking to people, people watching...we saw Carson what's his name from Queer Eye, all while waiting to meet Chef Richard, who happens to have the same birthday as me! Anyway, Gail tells me that another foodie friend is in town, and she wanted me to meet him because of our common interest in everything culinary, he was also a contestant on Season One of the MasterChef show! Here comes Scott Fischer, bigger than life with more personality than I could have ever imagined.  We had a blast, going all over NYC, uptown, downtown and all around, all while sharing his experience with me and Mike Z, who had also tried out for Season 2 of MasterChef. Unlike him, we didn't make it to the show...we were cut, but that is another story for another day. However in between sipping dirty Martini's,  Scott did share a recipe with me and I have his permission to share it with you!!  I've probably changed things up just a little bit...you kind of get a little fuzzy after 3 Martini's!
Enjoy!

Buffalo Style Chicken Burgers
1 pound white meat ground chicken
1 pound dark meat ground chicken
2 ribs of celery, chopped
2 carrots, peeled and grated
Hot Sauce (I used Moore's Buffalo Wing Sauce)
Cheddar Cheese
Chipotle Ranch dressing (Marie's makes a nice one)
salt and pepper

***I added blue cheese
and upped the heat by using some  Cabot Habanero Cheddar Cheese

In a bowl combine the white meat and dark meat ground chicken. I don't know why you have to use both, but I can attest that it was very juicy, and tasty.
Add to the meat the 2 ribs of celery, which you have chopped, and the 2 carrots which you have grated.

Mix it all together and add some salt and pepper. Now here's where I got a little fuzzy, I don't know if I was supposed to add hot sauce to the mixture, so I didn't.  But I did think that it would be amazing to add some of the cheddar cheese into the meat so I went ahead and did that. I would have also added some of the blue cheese, but my darling daughter, Zoe, doesn't like blue cheese, so I kept that to the end. The mixture was a little soft, so I refrigerated it for 15 minutes and then I made patties. I got 7 really nice size burgers from the 2 pounds of meat. You could definitely get 8 out of it.
 In a hot frying pan, which I sprayed with some non stick spray I added a few tablespoons of the hot sauce into the frying pan and cooked the "burger" in the hot sauce. I added hot sauce to the top of the burger before flipping it.
When they were cooked through, it took at least 15 minutes to cook, 7 - 8 minutes per side on med/high heat, I put them on a kaiser roll, added crumbled blue cheese, more Cabot Habanero Cheddar, lettuce and tomato, with a dollop of the Chipotle Ranch Dressing.


They were fabulous! If your husband, boyfriend, wife, girlfriend, fiance, son or daugher or whom ever you're cooking for love Buffalo style chicken wings they are going to love these burgers! I served them up with some home fries, corn on the cob and some slaw! Grill these up for the Memorial Day Weekend. Your guests will love these,  and it's something different from the usual burger. You'll get some great feedback. I did the night I made them for my family! :)
Thanks, Scott!

Buon Appetito
xoxoxo
Lorraine


Wednesday, May 25, 2011

Roasted Peppers

I will never buy roasted peppers that come from a jar. I just won't do it. They are easy to make. They do take some time, and you need to be hands on, but the deliciousness of a fresh fire roasted pepper is so yummy. If you have an electric stove or an electric oven I would suggest that you make these outside on your  grill. I have never had any luck making these with an electric oven.  I also like these best when they are made right on top of the burner.
When I was younger and my mother made these, I knew what she was making by the smell that these sent through the house. You are burning the flesh of the pepper and it smells like something is burning! But the taste, OMG!  So fresh and delicious that I wouldn't stop eating them. There were times that she didn't get a chance to season them we'd eat them faster than she could clean the charred skin.
Put your exhaust fans on... and let's get the fire started! lol
Wash and dry the peppers that you want to roast. I like the taste of red, orange and yellow peppers. You may also roast green peppers, they are just not a favorite of mine.
You can roast these in your oven under the broiler, but I like them on an open flame.
I have the flame on high and arrange the peppers so they are getting the heat all around them. You will need tongs to keep moving the peppers around so that the skin blisters all over the entire pepper.

Once the surface of the pepper is charred put them in a brown paper bag. You can probably use something else besides a brown paper lunch bag, but this is the way my mother did them.  Close up the bag and let them sit in the bag for a half hour or so. This will steam them, making it easier to take the charred skin off the pepper.

The pepper under the charred skin should be nice and tender. I just rub the blackened skin right off. I do not put the peppers under water to do this. You want the lovely flavor from the open fire to remain.
After the charred skin is off the peppers it's time to clean them up and take the vein out of the inside of the peppers and remove the seeds.

I usually pull the stem off the top of the pepper, and pull the pepper apart. With a knife scrape off the vein inside the pepper along with the seeds. At this time you can cut the peppers into sections, but I like to just pull them apart.
Now it's time to season them with extra virgin olive oil,  parsley, garlic, salt and pepper. I've had these in many restaurants and you can season these with many items.  While dinning at Rao's  in New York, these were made with pine nuts and golden raisins. I have to say that they were absolutely delicious! Probably the best I have ever had in a restaurant.
My sister, Michele loves these with anchovy! So play around, add your favorite ingredients and make these your own. You are going to love the flavors and once you make these and taste the difference from making them in your own kitchen, you will never buy these in a jar ever again!
Buon Appetito
xoxoxo
Lorraine

Monday, May 23, 2011

Chicken Soup and Chimichurri Sauce

If it's Monday in my house it means that we are having soup for dinner.  You can turn a very simple Chicken Soup into something very different by serving it up with a sauce on the side. Tonight that sauce is a Chimichurri Sauce.
When ever I make Chicken soup I use a whole chicken in the pot, covered with water and seasoned with salt and pepper and a bay leaf. I add celery, onion and carrots to the pot and let the chicken gently simmer until the chicken is done.  From this simple stock you can go in many directions just by adding some additional ingredients. Add some ginger, garlic, green onions and some sherry and you have the wonderful beginning of a broth for Wonton Soup. Add some egg yolks and lemon juice and you're absolutely going to love the flavors that develop into an Avgolemono Soup. Feel like something Mexican? Try adding some cilantro, chopped green peppers and scallions to your stock and you're on your way to making a delicious Chicken Tortilla soup. You'll be amazed at all the delicious stocks that you can make.

The stock is delicious, and my family loves the stock with the vegetables cut up and cooked with a small shaped pasta, such as Ditalini.  The problem I have is getting anyone to eat the plain, boiled chicken. It's funny how history repeats itself. When my mother would make boiled chicken we wouldn't eat it either, until she made this fabulous sauce to accompany the boiled chicken. We didn't know that we were eating Chimichurri Sauce. She just called it a Green Sauce or Salsa Verde!  There are so many sauces that my mom used to make that we now know have culinary names.  I'll be sharing some of these sauces as I go along and who knows, I may even learn the proper culinary names for the sauces, instead of calling them brown sauce and green sauce! Are you along for the crawl?

Chimichurri
One bunch of fresh parsley chopped fine
3 - 4 cloves of fresh garlic, chopped fine
a pinch of oregano
a pinch of salt and pepper
a pinch of red pepper flakes
3 - 4 Tablespoons of Extra Virgin Olive Oil

Chop everything and mix it all together in a bowl adding olive oil.
I took the chicken off the bone, the dark meat went into the soup pot and the white meat was arranged on a platter and topped with the Chimichurri Sauce.
and for those who love Balsamic....
drizzled with some glaze
What can be better than a nourishing cup of soup with a delicious chicken chimichurri?
Buon Appetito
xoxoxo
Lorraine

Sunday, May 22, 2011

Tiramisu

Tiramisu...is such a great desert.  It's rich and creamy and has a punch of coffee flavor. What I really love about this desert is that it is easy to make.  With a few ingredients you can impress your family and your guests.
All you need for this is
6 eggs
1 tub of Mascarpone cheese
1 cup of Espresso coffee
1 cup of creme de cacao * (optional)
1 cup of sugar
lady finger cookies
cocoa powder

I temper the eggs by letting them sit in hot water. While the eggs are tempering I make my espresso coffee.

Separate the egg yolks from the egg whites.  In a bowl mix together the mascarpone cheese, egg yolks and sugar until nice and creamy.
In another bowl beat the egg whites until stiff and peaks form. You should be able to turn the bowl upside down and the egg whites won't fall out of the bowl.

Fold the egg whites into the mascarpone mixture. Now it's time to put it all together! Mix the coffee and creme de cacao together. If you don't want to use the liquor, you don't have too. Just make more coffee.
Dip the lady fingers into the coffee mixture, make sure it's a quick dip, the cookie will absorb the liquids fast and place them in a dish that you want to serve the Tiramisu from. I like making this in a Trifle bowl. I like the presentation it makes.  Another beautiful presentation is to layer individual servings in a large Martini glass. It'll be Fabulous, which ever way you put this together!


layering the dipped lady fingers all around the bowl and on the bottom

Add the mascarpone mixture and sprinkle with some cacao powder and another layer of dipped cookies.

Keep going until your bowl is full.
Cover with saran wrap and refrigerate for 6 hours or more!  Enjoy!

Buon Appetito
xoxoxo
Lorraine